[verbose] Installation and compilation of vpub on Alpine linux 3.21.0
| Author | Topic |
|---|---|
|
admin
|
In case if you’re new to this - here’s a complete tutorial on how to install vpub on Alpine linux and host it. I assume that you rent some VPS from some hosting provider and chose Alpine Linux in there! What do we need to installTo get this forum going we need to install:
Step 1 - PostgreSQL 16Let’s follow steps from Alpine’s wiki: https://wiki.alpinelinux.org/wiki/Postgresql_16. Currently Write this into your terminal: This will start the PostgreSQL 16 server and perform some initial configuration. Creating a user for the databaseLogin as the And now you’re done with PostgreSQL installation! Step 2 - GolangThere’s official guide on how to install Golang - https://go.dev/doc/install. Let’s follow it! 1. Download and installation of GolangLet’s download Go 1.23.4: Remove any previous (You may need to run the command as 2. Add /usr/local/go/bin to the PATH environment variable.You can do this by adding the following line to your Note: Changes made to a profile file may not apply until the next time you log into your computer. To apply the changes immediately, just run the shell commands directly or execute them from the profile using a command such as 3. Verifying installationVerify that you’ve installed Go by opening a command prompt and typing the following command: And it should print Step 3 - GitThat’s easy enough! Run the following command: And done. Step 4 - Make and GCCIn Alpine, we can install both More information about this meta-package here: https://wiki.alpinelinux.org/wiki/GCC And we’re done with tools that we needed for Compiling and running vpubWe need to get the source code, compile it and then run the executable. Step 1 - Download the source codeThis will create a Step 2 - Building vpubAssuming that we have everything needed installed, we can do the following: This will create Step 3 - Setting up environment variablesWe need to setup the following variables in our system:
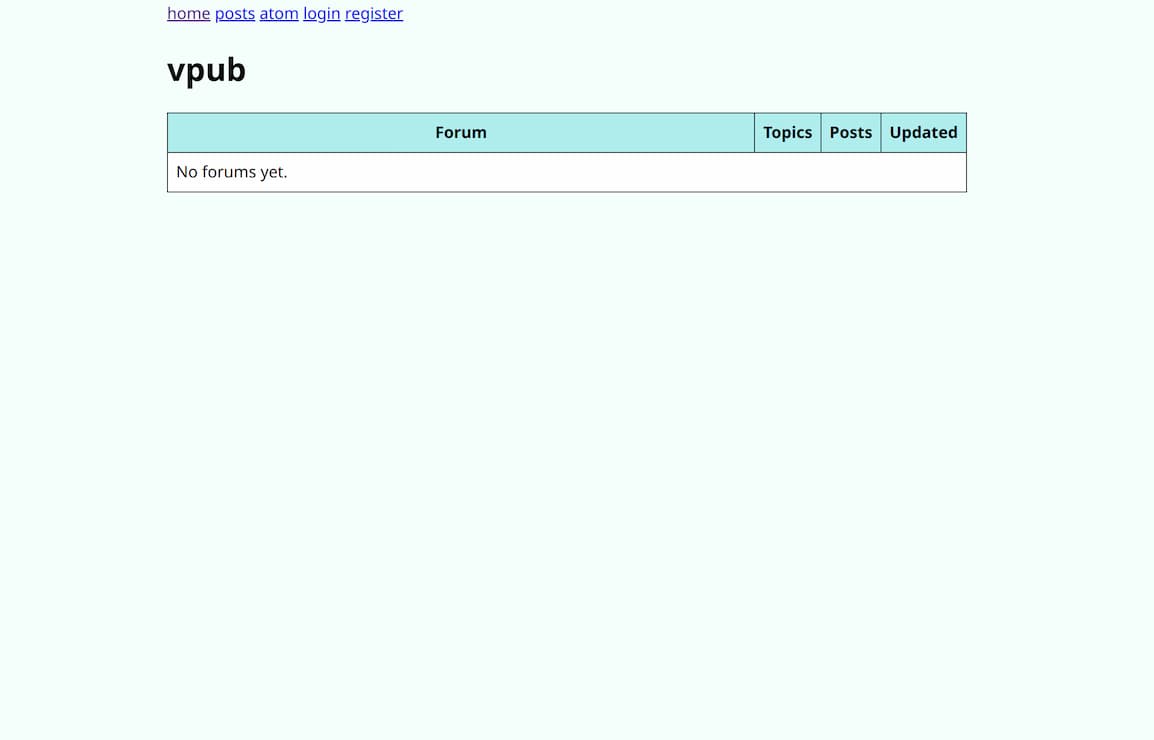
Let’s define them using Notice that we use Also notice that we use Step 4 - Running vpubAnd now we can finally run vpub! And if everything goes as planned, you will see the following log: Now open your browser and navigate to
|
